How to Set Up Hermes Agent Voice Mode
Step-by-step guide to enabling Hermes Agent voice mode on Mac, Linux, and Windows via WSL2. Covers installation, STT options, TTS config, and troubleshooting.
What You Need Before Starting
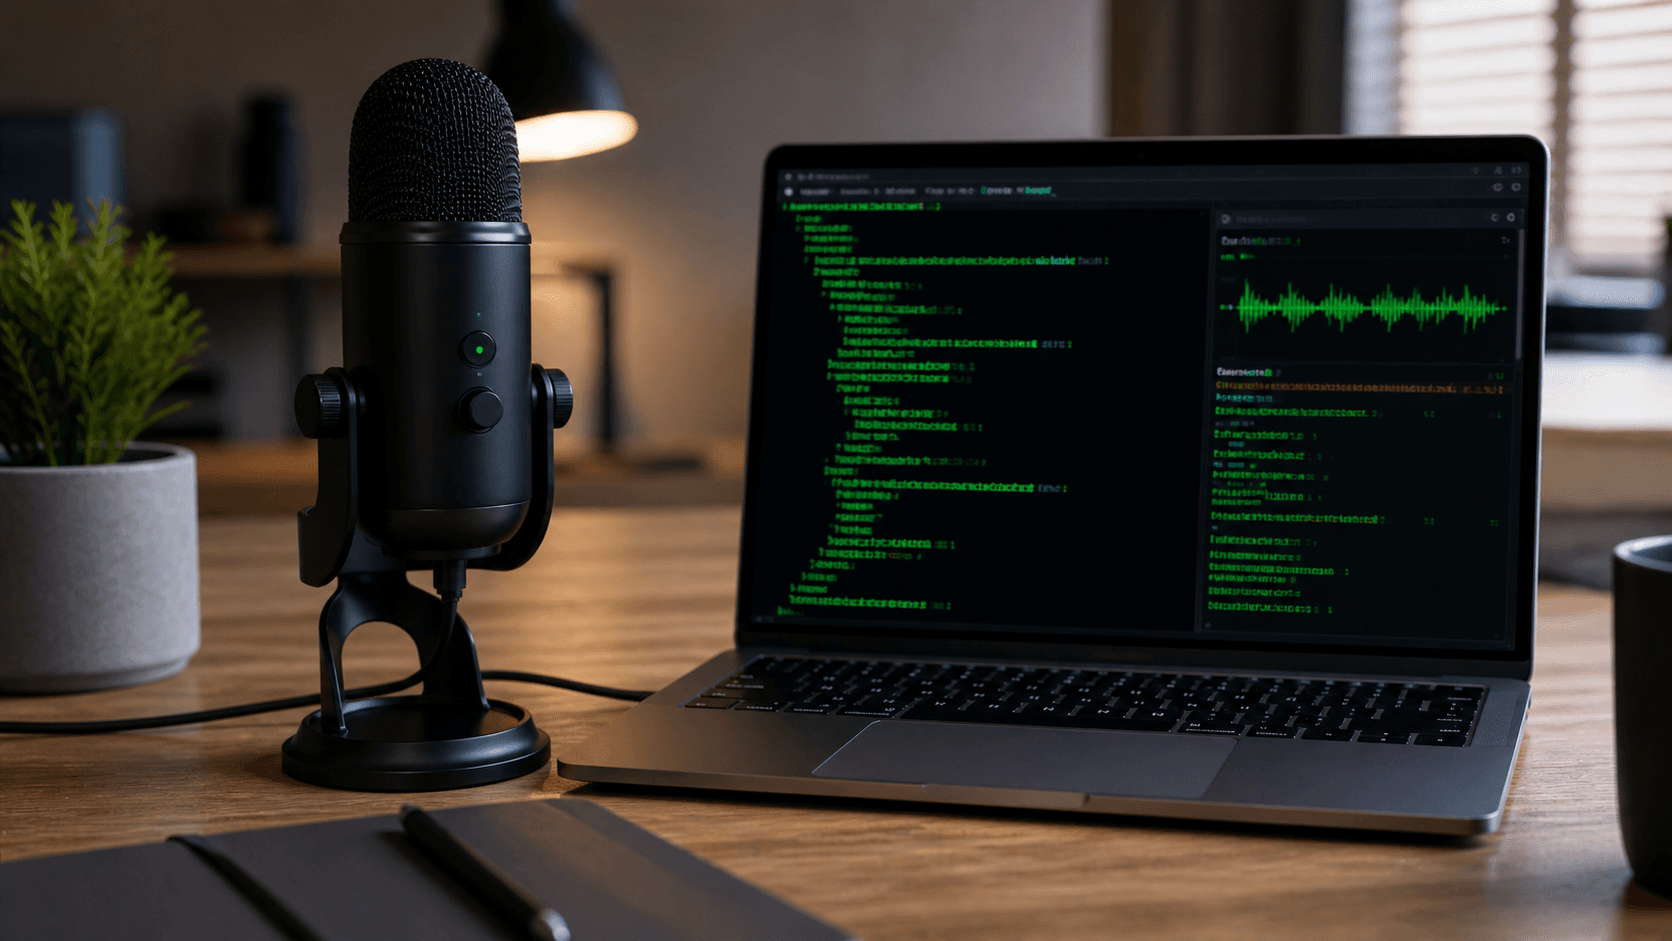
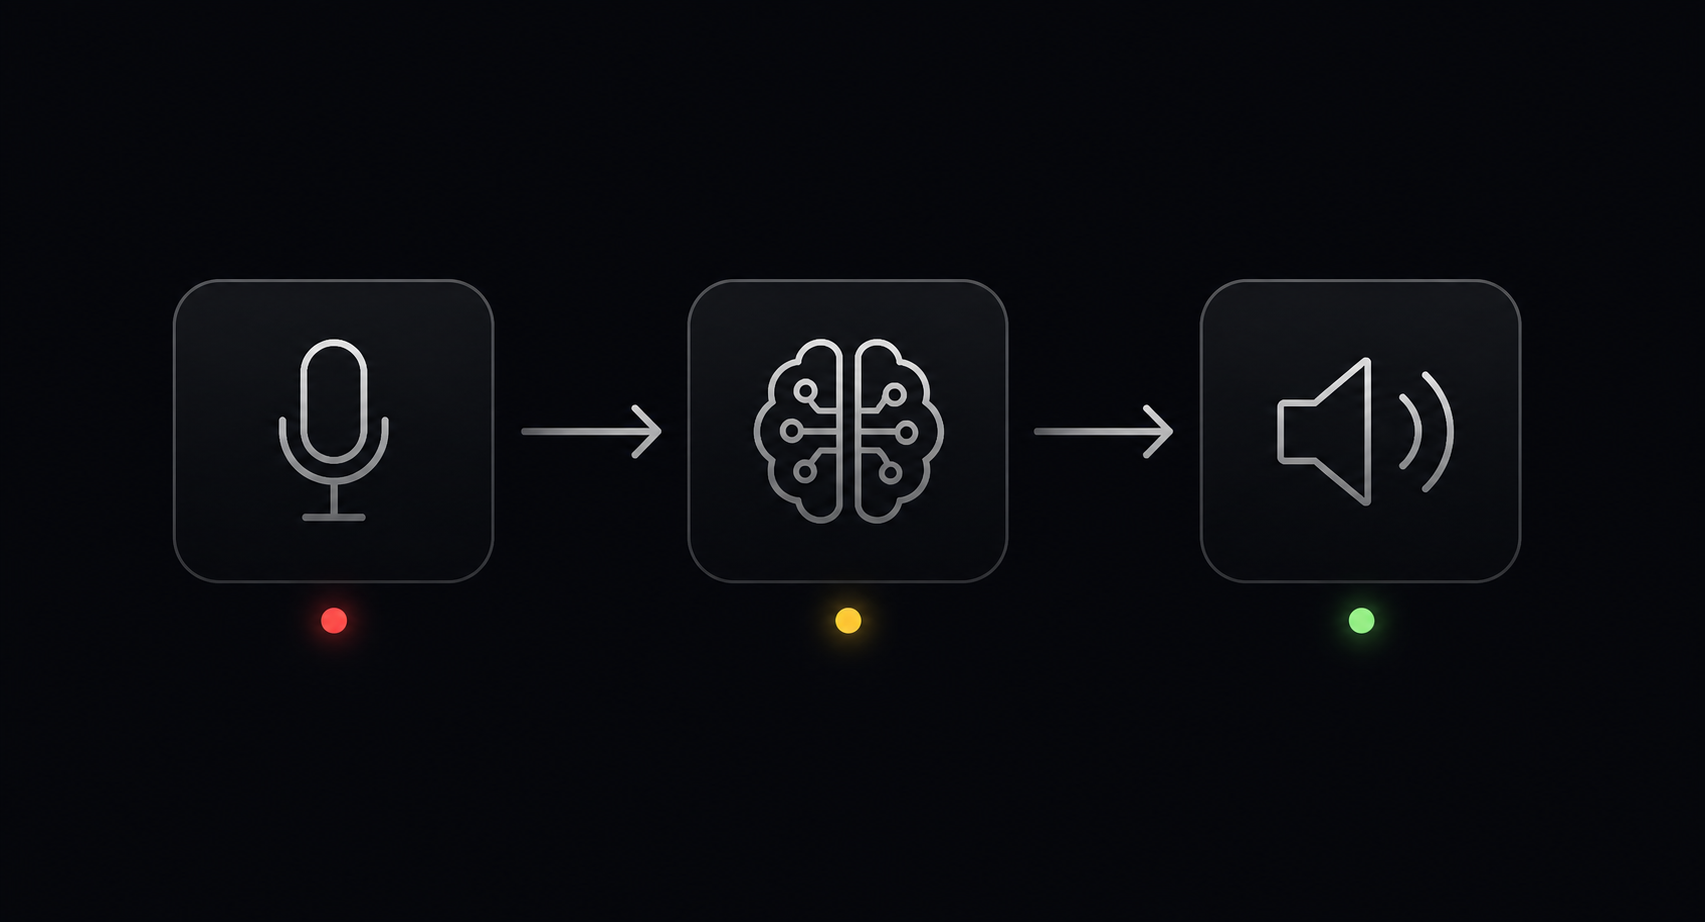
Voice mode in Hermes Agent adds a full speech pipeline on top of the base agent: microphone input, speech-to-text transcription, the standard reasoning loop, and text-to-speech output. Each stage can be customized, but the defaults work well enough to get started in under ten minutes.
Prerequisites:
- A working Hermes Agent installation - run
hermesand verify text chat responds before enabling voice - A microphone connected to your machine
- Mac, Linux, or Windows with WSL2 installed
Native Windows is not supported - WSL2 is required on that platform.
Step 1 - Install the Voice Extra
pip install "hermes-agent[voice]"
This installs:
faster-whisper- local speech-to-text (the default STT backend)sounddevice- microphone capture and audio playbacknumpy- audio processing
The download is roughly 100-300 MB depending on your existing Python environment.
Android/Termux: The standard voice extra pulls in dependencies that are not compatible with Android. Use the Termux-specific extra instead:
pip install "hermes-agent[termux]"
Step 2 - Check Microphone Permissions
Before enabling voice in Hermes, confirm your microphone is accessible from the terminal environment.
Mac: Go to System Settings > Privacy and Security > Microphone. Make sure your terminal application (Terminal, iTerm2, Warp, etc.) has permission to access the microphone.
Linux:
Run arecord -l to list recording devices. If your microphone does not appear, check whether PulseAudio or PipeWire is running:
pulseaudio --check
# or
pactl info
WSL2 (Windows):
Microphone access in WSL2 requires bridging PulseAudio from the Windows host. The most common approach is to install a PulseAudio server on Windows, then configure WSL2 to connect to it via the PULSE_SERVER environment variable. This is the most involved step for Windows users - once the bridge is working, all remaining steps are identical to Linux.
Step 3 - Enable Voice Mode
Start a Hermes session:
hermes
Inside the session, run:
/voice on
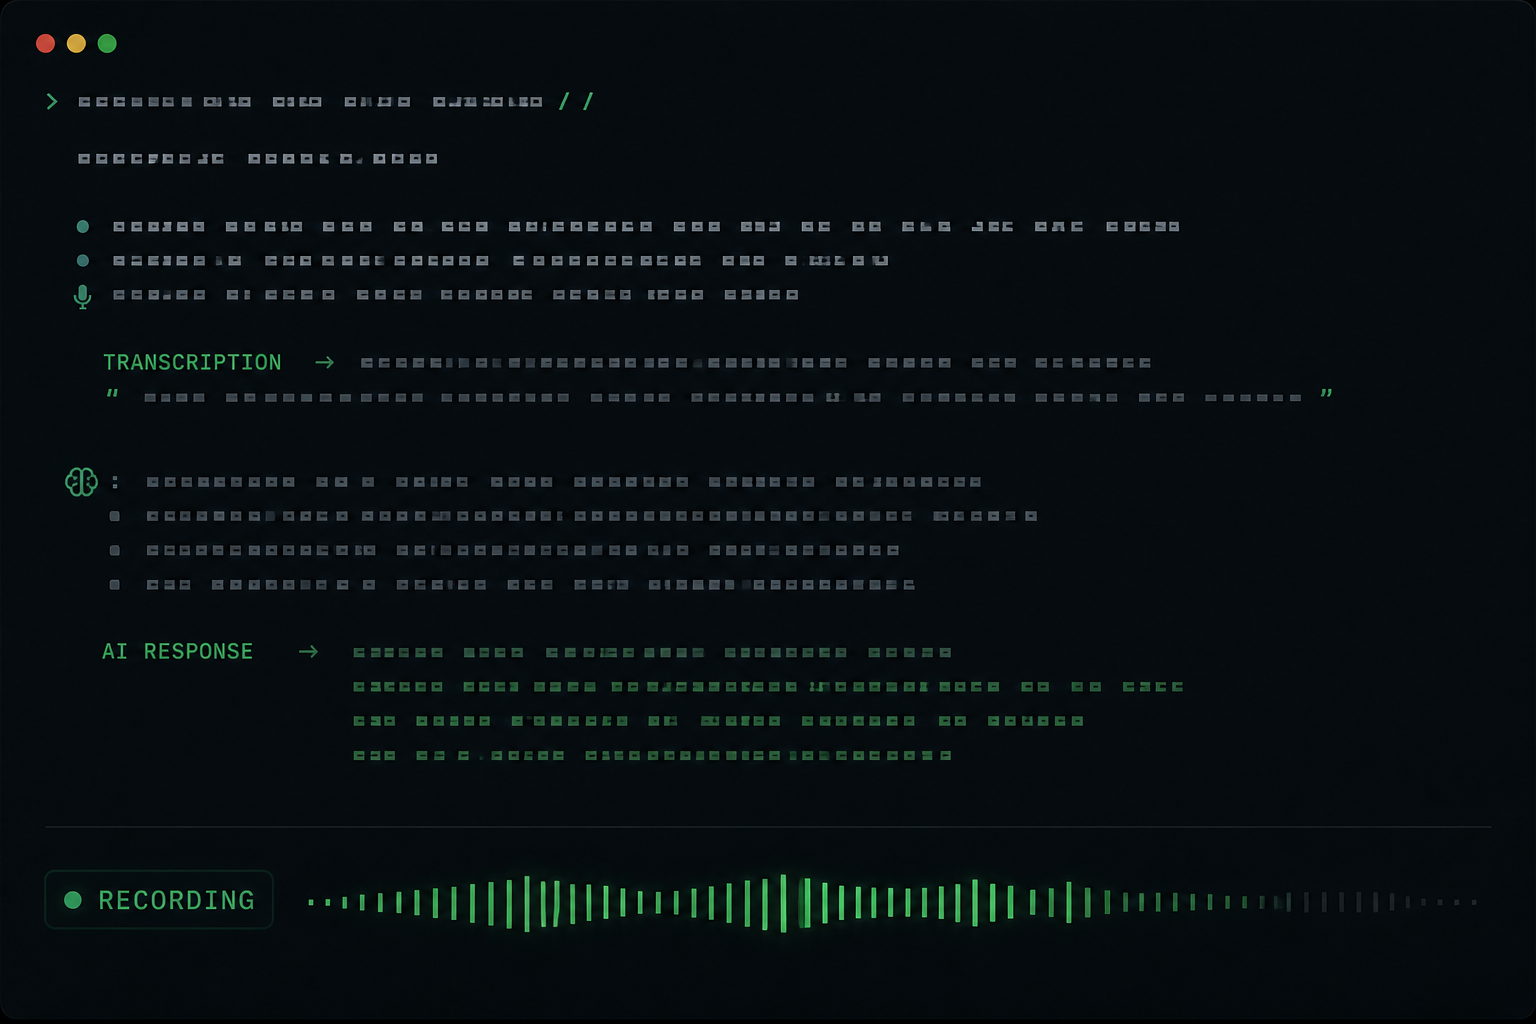
You will see a confirmation message. Press Ctrl+B to start recording, speak a short message, then press Ctrl+B again to stop (or wait for silence detection). Hermes will transcribe your message and respond.
If the agent responds correctly, voice mode is working. Continue to step 4 to configure which STT and TTS providers to use. If something is wrong, jump to the troubleshooting section.
Step 4 - Configure Speech-to-Text
The default STT provider is faster-whisper running locally on your machine. No API key required, no audio sent to any external service.
The default Whisper model is base, which is fast and accurate enough for clear English speech. For better accuracy with accents or non-English languages, switch to a larger model:
# ~/.hermes/config.yaml
stt:
  provider: local
  model: small   # options: tiny, base, small, medium, large-v3
Larger models trade speed for accuracy. On a modern CPU, small adds about 1-2 seconds of transcription latency per short sentence. On a GPU, the difference is negligible.
Cloud STT (faster, no local compute):
stt:
  provider: groq   # or openai
Set the key in ~/.hermes/.env:
GROQ_API_KEY=your_groq_key
# or
VOICE_TOOLS_OPENAI_KEY=your_openai_key
Groq's Whisper inference is fast and the free tier handles substantial usage. For short voice messages - task capture, quick lookups - cloud STT with Groq often responds faster than local inference on a CPU.
Step 5 - Configure Text-to-Speech
The default TTS provider is Edge TTS, which requires no API key and produces natural-sounding output:
tts:
  provider: edge
This is sufficient for most personal use. For a full breakdown of all ten supported TTS providers and when to choose each one, see the Hermes Agent TTS providers guide.
For Telegram users: Some providers including NeuTTS output WAV files that need conversion to Opus for Telegram voice bubbles. Install ffmpeg to enable automatic conversion:
# Mac
brew install ffmpeg

# Linux
sudo apt install ffmpeg
Step 6 - Make Voice the Default
To avoid running /voice on at the start of every session, add this to ~/.hermes/config.yaml:
voice_mode: true
The agent will start with voice enabled automatically from that point on.
Step 7 - Test on Telegram (Optional)
If you have a Telegram bot configured, send a voice memo to your bot and confirm it replies with both text and a voice bubble. If the voice bubble is missing, check that ffmpeg is installed and your TTS provider is correctly configured.
Troubleshooting
No audio output - agent responds in text only
Confirm tts.provider is set in config.yaml and that you have run /voice on in the current session. Alternatively, set voice_mode: true for automatic activation.
Ctrl+B does nothing / microphone not detected
Check microphone permissions (Mac: System Settings > Privacy > Microphone). On Linux, run arecord -l and confirm your device appears. On WSL2, verify the PulseAudio bridge to the Windows host is active.
Transcription is inaccurate or misses words
Switch from base to small or medium in config.yaml. Background noise degrades transcription significantly - a headset or directional microphone makes a large difference in practice.
Telegram voice bubbles are missing or silent
Hermes sends Opus-encoded audio to Telegram. If you are using NeuTTS and ffmpeg is not installed, the WAV-to-Opus conversion fails silently. Install ffmpeg and restart the gateway.
Response latency is too high
For the fastest setup: use cloud STT (Groq) for transcription and Edge TTS for output. Groq transcription adds under one second of latency for short messages. Edge TTS synthesis is fast and requires no local compute.
Understanding Latency at Each Stage
Knowing where time is spent helps you optimize for your use case:
| Stage | Local (typical) | Cloud (typical) |
|---|---|---|
| STT transcription | 1-4s (Whisper base/small) | 0.5-1s (Groq) |
| Agent reasoning | 1-3s | 1-3s |
| TTS synthesis | 0.5-2s | 0.3-1s |
| Total | 2.5-9s | 1.8-5s |
For a personal assistant, anything under 5 seconds feels natural. For real-time Discord voice channels, aim for under 3 seconds total - use cloud STT and a fast TTS provider.
Skip the Setup Entirely
Self-hosting Hermes and managing voice configuration is completely doable with this guide, but it is not trivial on every platform - particularly Windows. If you would rather have voice working out of the box, Hermify handles all of this automatically. Your agent runs in an isolated container with Edge TTS pre-configured, and Telegram is connected in two taps through the dashboard. No config files, no gateway to manage.
Sources
Run Your Own Hermes Agent
Bring your API key, connect Telegram, and get a self-improving AI agent live in 60 seconds.
Get Started