How to Set Up Hermes Agent Voice Mode
Set up Hermes Agent voice mode with current CLI, STT, TTS, Telegram, and troubleshooting guidance for a self-hosted runtime.
What You Need Before Starting
Voice mode in Hermes Agent adds a speech pipeline on top of the base agent: microphone input, speech-to-text transcription, the standard reasoning loop, and text-to-speech output. This guide is for self-hosted Hermes users who need to configure that pipeline. If you only need an overview of the feature, start with what Hermes Agent voice mode can do. If you are choosing output quality or cost, use the TTS provider comparison.
Prerequisites:
- A working Hermes Agent installation - run
hermesand verify text chat responds before enabling voice - A microphone connected to your machine
- macOS or Linux for microphone capture in the CLI. Follow the current upstream guide for platform-specific support before relying on a Windows setup.
Step 1 - Install the Voice Extra
pip install "hermes-agent[voice]"
This installs the CLI microphone dependencies, including sounddevice and
numpy. It does not install every speech provider. The current upstream
reference recommends installing faster-whisper separately when you want
local transcription, and the messaging extra when you are connecting a
Telegram or Discord bot.
# Local, no-key speech-to-text
pip install faster-whisper

# Telegram or Discord messaging gateway
pip install "hermes-agent[messaging]"
Step 2 - Check Microphone Permissions
Before enabling voice in Hermes, confirm your microphone is accessible from the terminal environment.
Mac: Go to System Settings > Privacy and Security > Microphone. Make sure your terminal application (Terminal, iTerm2, Warp, etc.) has permission to access the microphone.
Linux:
Run arecord -l to list recording devices. If your microphone does not appear, check whether PulseAudio or PipeWire is running:
pulseaudio --check
# or
pactl info
WSL2 (Windows):
Microphone access in WSL2 requires bridging PulseAudio from the Windows host. The most common approach is to install a PulseAudio server on Windows, then configure WSL2 to connect to it via the PULSE_SERVER environment variable. This is the most involved step for Windows users - once the bridge is working, all remaining steps are identical to Linux.
Step 3 - Enable Voice Mode
Start a Hermes session and verify that normal text chat works first:
hermes
Inside the session, run:
/voice on
For the CLI, press Ctrl+B to start recording, speak a short message, then
press Ctrl+B again to stop (or wait for silence detection). Hermes will
transcribe your message and respond. In Telegram and Discord, /voice on
means that a voice message receives a spoken reply; /voice tts enables spoken
replies for every message; and /voice off returns to text-only replies.
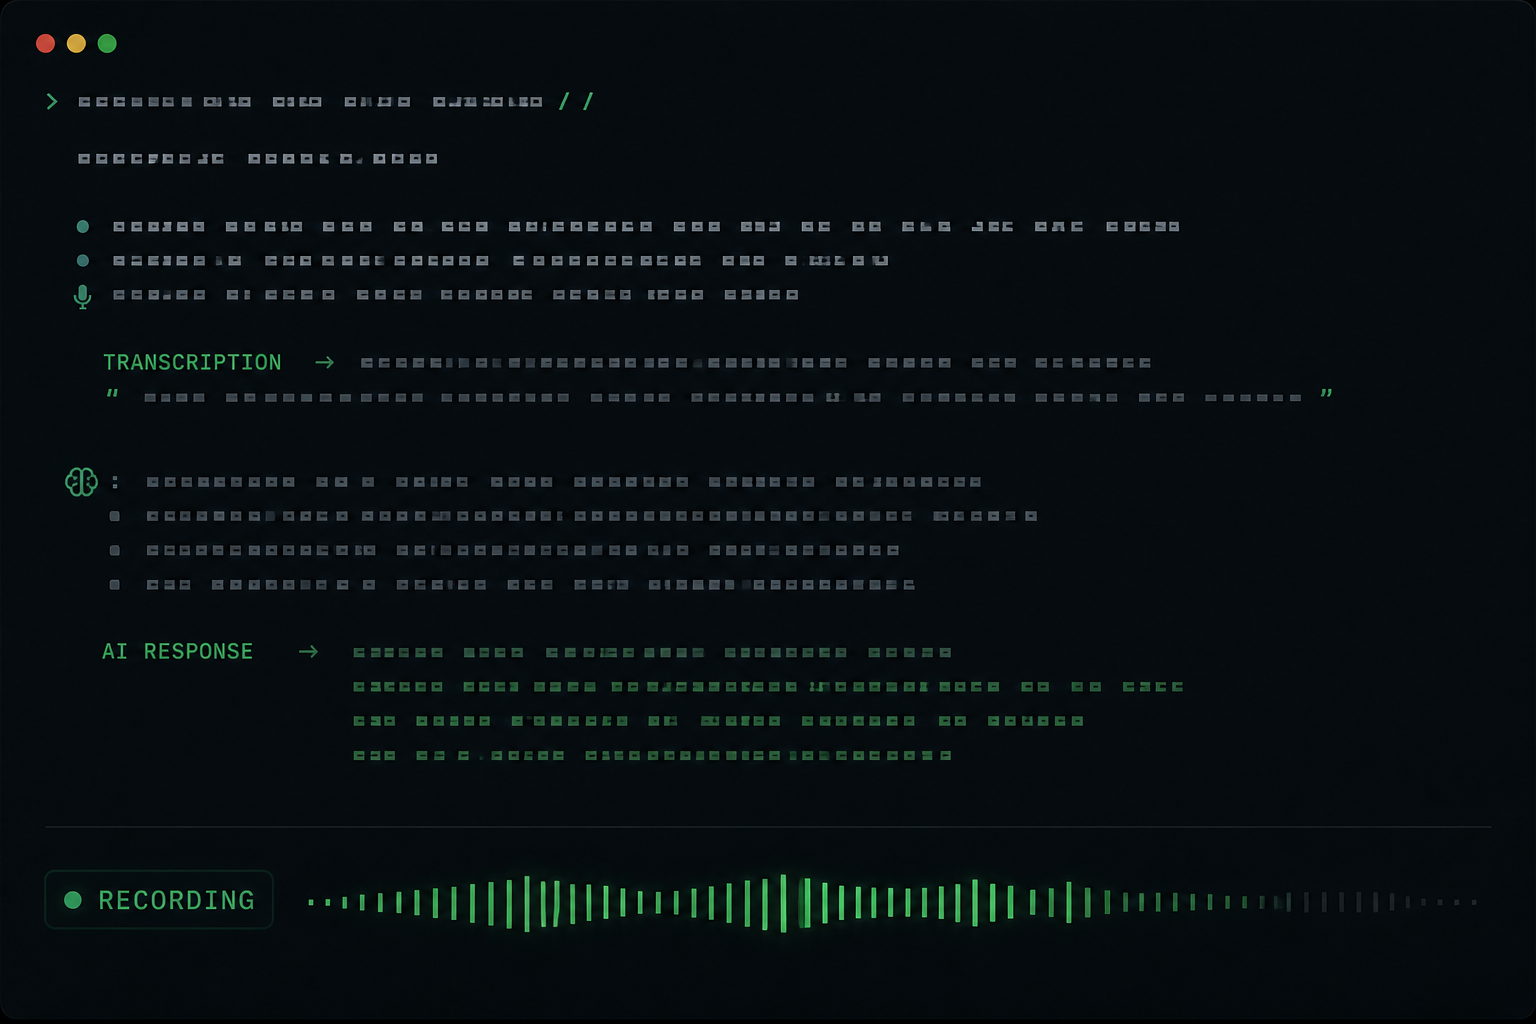
If the agent responds correctly, voice mode is working. Continue to step 4 to configure which STT and TTS providers to use. If something is wrong, jump to the troubleshooting section.
Step 4 - Configure Speech-to-Text
The local STT provider uses faster-whisper when it is installed. It requires
no API key and keeps transcription on the machine running Hermes.
The default Whisper model is base, which is fast and accurate enough for clear English speech. For better accuracy with accents or non-English languages, switch to a larger model:
# ~/.hermes/config.yaml
stt:
  provider: local
  local:
    model: small   # tiny, base, small, medium, or large-v3
Larger models trade speed for accuracy. Test with your own audio and hardware before committing to a model: upstream does not publish a universal latency number for every machine.
Cloud STT (faster, no local compute):
stt:
  provider: groq   # or openai
Set the relevant key in ~/.hermes/.env:
GROQ_API_KEY=your_groq_key
# or
VOICE_TOOLS_OPENAI_KEY=your_openai_key
Cloud transcription trades local processing for provider latency and account limits. The current Hermes documentation lists Groq and OpenAI alongside the local provider; choose based on your privacy, speed, and cost requirements.
Step 5 - Configure Text-to-Speech
The default TTS provider is Edge TTS, which requires no API key and produces natural-sounding output:
tts:
  provider: edge
This is sufficient for most personal use. For a full breakdown of all ten supported TTS providers and when to choose each one, see the Hermes Agent TTS providers guide.
For Telegram users: Some providers including NeuTTS output WAV files that need conversion to Opus for Telegram voice bubbles. Install ffmpeg to enable automatic conversion:
# Mac
brew install ffmpeg

# Linux
sudo apt install ffmpeg
Step 6 - Choose the Reply Behaviour
Voice replies are text-only by default. In Telegram and Discord, use the commands that match the interaction you want:
| Command | Behaviour |
|---|---|
/voice on |
Speak only when the user sends a voice message. |
/voice tts |
Speak replies to every message. |
/voice off |
Return to text-only replies. |
/voice status |
Show the current setting. |
The messaging voice setting persists across gateway restarts. For CLI
recording options such as the shortcut, silence threshold, and automatic TTS,
use the voice: block in the current upstream configuration reference rather
than a deprecated top-level voice_mode flag.
Step 7 - Test on Telegram (Optional)
If you have a Telegram bot configured, send a voice memo to your bot and
confirm it replies with a voice bubble when /voice on is active. Telegram
delivery uses Opus/OGG; ffmpeg is needed when Hermes must convert a provider
output to that format.
Troubleshooting
No audio output - agent responds in text only
Confirm tts.provider is set in config.yaml and check /voice status in the
messaging conversation. Use /voice on for voice-message replies or /voice tts for replies to every message.
Ctrl+B does nothing / microphone not detected
Check microphone permissions (Mac: System Settings > Privacy > Microphone). On Linux, run arecord -l and confirm your device appears. On WSL2, verify the PulseAudio bridge to the Windows host is active.
Transcription is inaccurate or misses words
Switch from base to small or medium under stt.local.model in
config.yaml. Background noise degrades transcription significantly - a
headset or directional microphone makes a large difference in practice.
Telegram voice bubbles are missing or silent
Hermes delivers Telegram voice bubbles as Opus/OGG. If the selected provider
does not emit that format, install ffmpeg so Hermes can convert it, then
check the gateway logs for the provider error rather than assuming the failure
is silent.
Response latency is too high
Start with local STT plus Edge TTS for a no-key baseline, then change one stage at a time. For a provider decision framework, see the Hermes Agent TTS providers guide.
Understand the Latency Budget
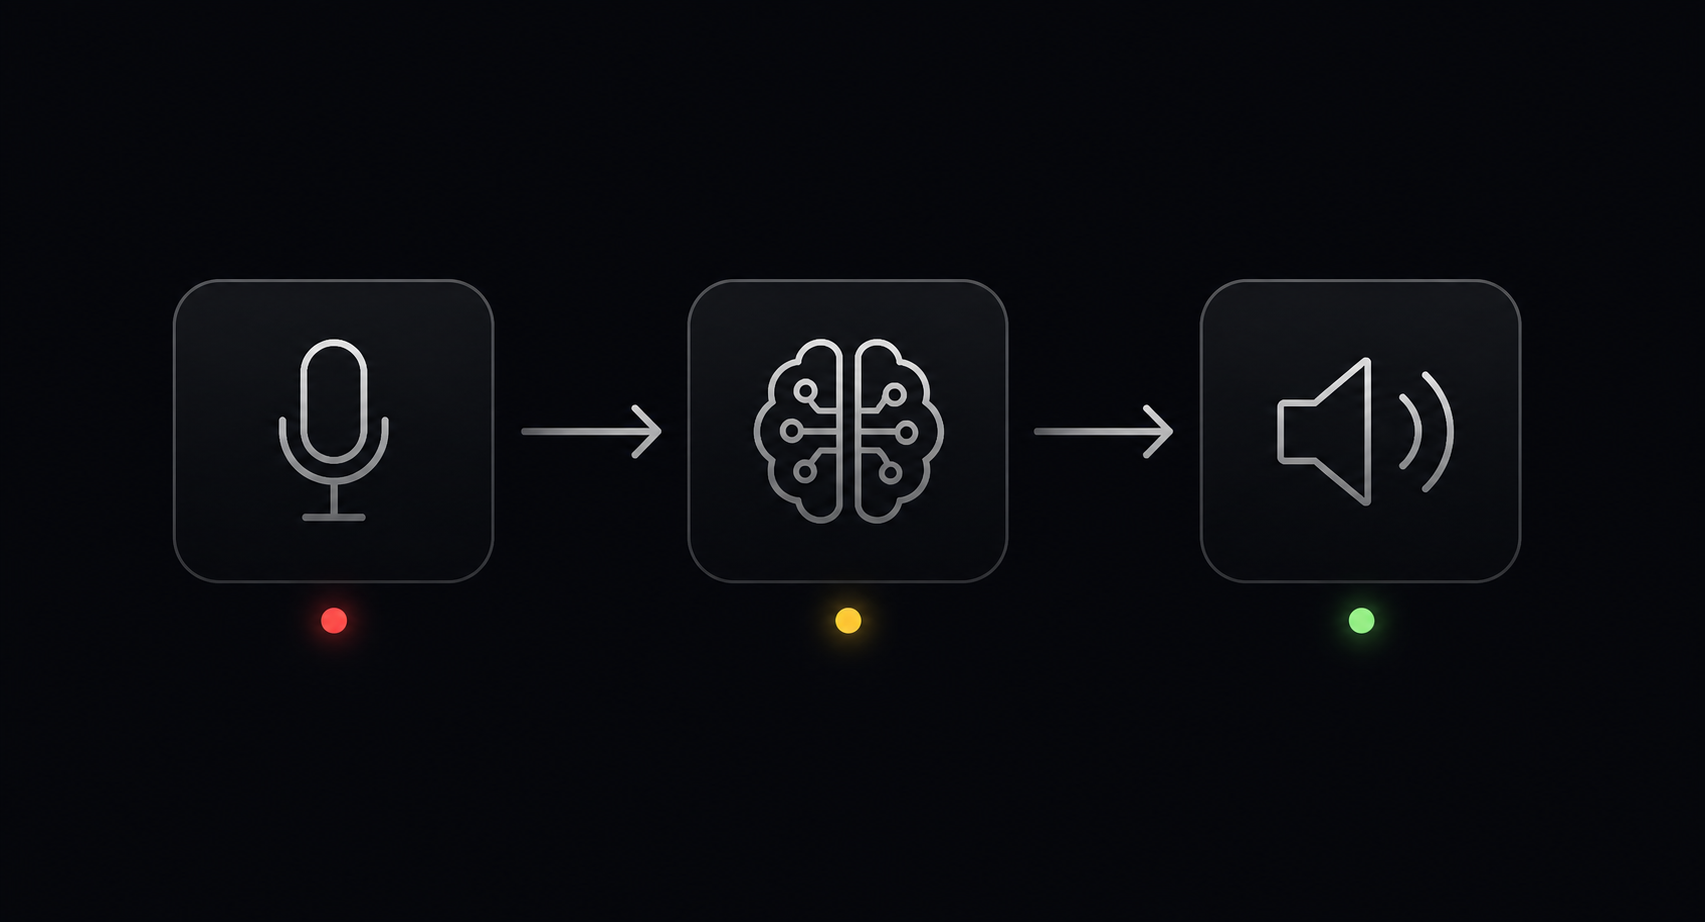
Voice latency has four independent stages: audio upload, transcription, model reasoning, and speech generation. Hardware, audio duration, selected model, and provider region all affect the result. Establish a baseline with a short Telegram voice memo, then measure after changing one STT or TTS setting. Do not carry generic benchmark numbers into a production decision.
Skip the Setup Entirely
Self-hosting Hermes and managing voice configuration is completely doable, but it still leaves you responsible for the runtime, updates, and gateway. If you want a hosted Hermes Agent that you use primarily from Telegram, explore Hermify. Configure the agent to your workflow, then use it from Telegram or the web app without maintaining the server yourself.
Sources
Lanza tu propio agente Hermes
Trae tu clave de API, conecta Telegram y ten un agente de IA que evoluciona solo activo en 60 segundos.
Empezar